-
-
Published
Linked with GitHub
# [EXT] Minting and financing NFTs with Centrifuge Gateway and Tinlake - AO User Guide
###### tags: `issuer-docs`
[toc]
# Background
## High level user flow
To mint NFTs representing the assets the Centrifuge Gateway is used as an interface for the Centrifuge Protocol. The minted NFTs are then locked as collateral into the Tinlake pool and financed.

## What is the Gateway
[Centrifuge Gateway](https://gateway.centrifuge.io/) is the GUI of a Centrifuge Node that allows to securely create and exchange customised documents representing real-world as part of the Centrifuge P2P-protocol and mint NFTs based on these documents.
# Set-up Gateway
## Register for Gateway [One time set-up]
* You should have received an invitation email to your email addresss. Click on the `Activate` button in the email
* OR go to https://gateway.centrifuge.io/ and click on `Register`
* Enter your email (email you shared in the pool config file) and choose a safe password according to the required criteria

* Click on `Register`
:::danger
The 2fa code upon registering is not sent at the moment. So after registering, just login again as normal (see below) to receive 2fa code per email
:::
## Login to Gateway
* Go to https://gateway.centrifuge.io/

* Login with your email address and password
* You should receive a 2fa security code to your email to complete the login

# Mint NFT through Gateway
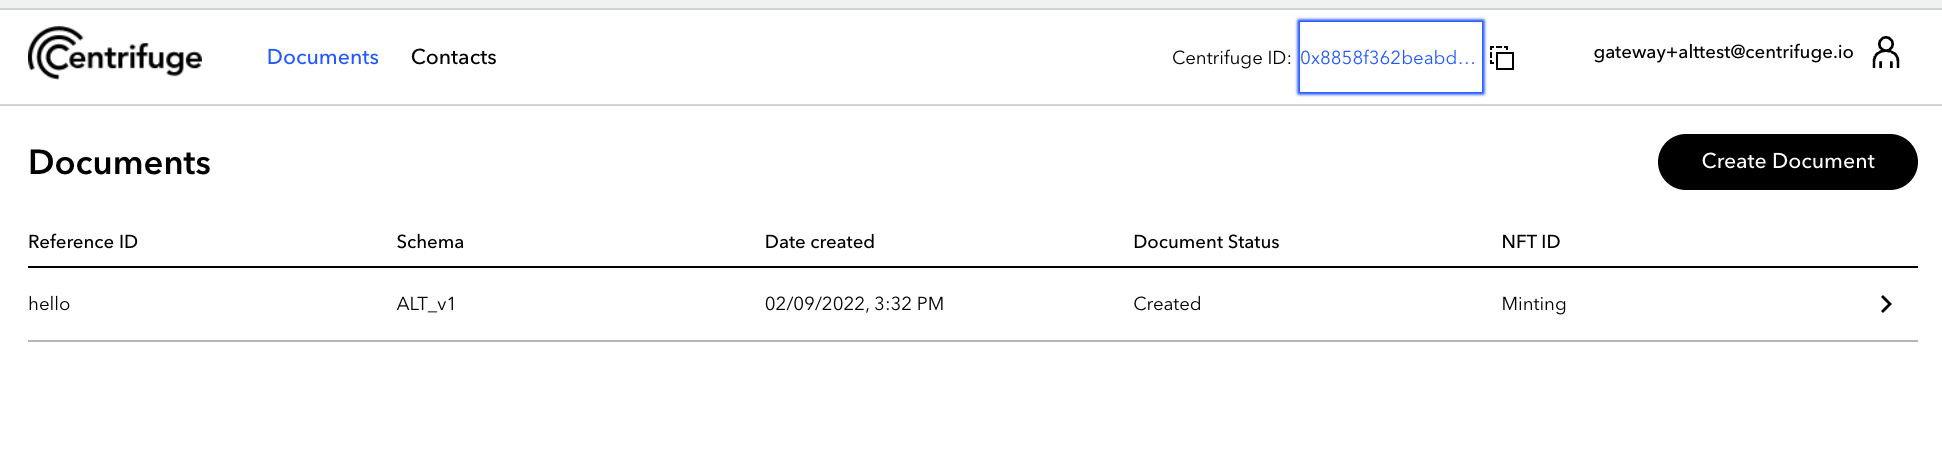
## Create Document
- Click on Document tab

- Click on Create Document
- Select your schema

- Your document fields appear
- Fill in Document details

:::info
Current workarounds:
- `Collateral Value (in USD)` --> Integer field type, so we have no decimals. Round value up, to make sure you can draw down correct amount in Tinlake
- For the maturity date/expected repayment date, please add a buffer of at least 5 days, to cater for weekends, holidays etc.
- The date picker sometimes picks a date one day ahead of the selected one. Will be fixed soon, but please double check
:::
- Click on `Save` to create the document
- The document will appear with status `Creating` in the document list

:::danger
Please wait 10-20sec until Document is created and anchored on chain
:::
--> **Done** The document should appear as `Created` in your document list

## Mint NFT
- In the document list, open the document you created
- You may note the Asset Originator Centrifuge ID and a unique Asset ID (the on chain anchor) have been added to the document

- Click on `Edit`
- Click on `Mint NFT` button

- Leave the NFT registry as "MainnetAssetNFT" and paste in your borrower ETH address (if you don't know it, it should be in the pool management Ghseet on tab `Addresses used` or `Pool addresses`)

- Click on Mint

- Wait till NFT is minted (status will be updated in document list)

:::danger
Note that minting may take a few minutes and the UI only updates once the NFT is minted.
:::
:::danger
If you mint several NFTs, please note that the node doesn't handle queing very well. Best, always wait until one NFT is finished before minting the second one
:::
:::info
To see the pending minting transaction you can click on your CF ID in the NAV bar. This opens etherscan for your CF ID where you will see the pending/succesful/failed transactions in the transaction list arriving at some point.
You can also open the [Gateway node contract](https://etherscan.io/address/0x3ba4280217e78a0eaea612c1502fc2e92a7fe5d7) that shows the minting and pricing transactions in its transaction list. Also here they will only be initiated after a few minutes once the verified NFT proofs have been bridged from the Centrifuge Chain to Ethereum.
:::
# Finance the NFT in Tinlake
:::info
Note that you need to be connected with Tinlake with the borrower ETH account that holds the NFT
:::
## Lock the NFT
- Open the document in Gateway and click on "Open loan" next to the NFT data

--> this will open the Lock NFT page in your Tinlake pool and prefill token registry and token ID from the Gateway document
or
- Go to your Tinlake pool
- Click on the Asset tab
- Copy and paste the token registry and token ID from the Gateway document

- Click on Lock NFT when data is filled in
- Confirm the transaction in Metamask or Ledger
#### Finance the asset
- Go back to the asset list on the Assets tab
- The new NFT/asset should have been added on top of the list
- Click on the asset to open the asset details

- Input the amount you want to finance in the input field

- Click on `Finance Asset` (the button will become active, once you input an amount >0)
- Confirm the transaction in Metamask or Ledger
## Repay the asset
- Go back to the asset list on the Assets tab
- Click on the asset to open the asset details

- Click 'set max' for the repay amount
- Click on `Repay` (the button will become active, once you input an amount >0)
- Confirm the transaction with Metamask/ Ledger